
Download the printable version HERE.
Step 1:
Connect your social media accounts
Once you have signed up for a free account on Buffer, the first thing you need to do to get started is to connect each of your social accounts. Using a free account, Buffer allows you to connect four separate social media accounts including Twitter, Facebook, LinkedIn and Google+.
To do this, all you need to do is click “Channels” under your account on your Buffer dashboard:
 Once in the Channels tab, you will be prompted to connect each of your accounts. Depending on the type of account you have for each social channel, select the relevant button e.g. if you wish to connect your Twitter profile, click connect under the Twitter section:
 Step 2:
Schedule the times you want your content to post
Once you’ve connected all your relevant accounts the next thing you need to do, for each account, is to choose the days you want your content to post and the times you would like it to post at.
This is where free tools like Tweriod come in handy. They can inform you as to when the best time to post your various social updates is according to your unique audience of followers, and you can use Buffer to ensure your content is posted at those times.
Select the Settings tab at the top of your Dashboard and click “Posting Schedule” ensure that the account you wish to set days and times for is also selected on the left hand side of the Dashboard. Like in this example:
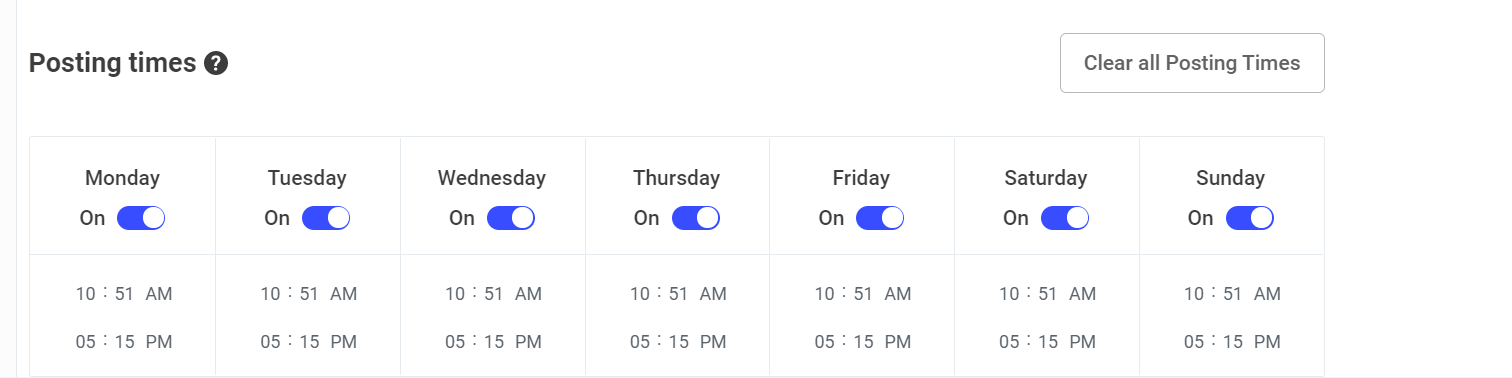
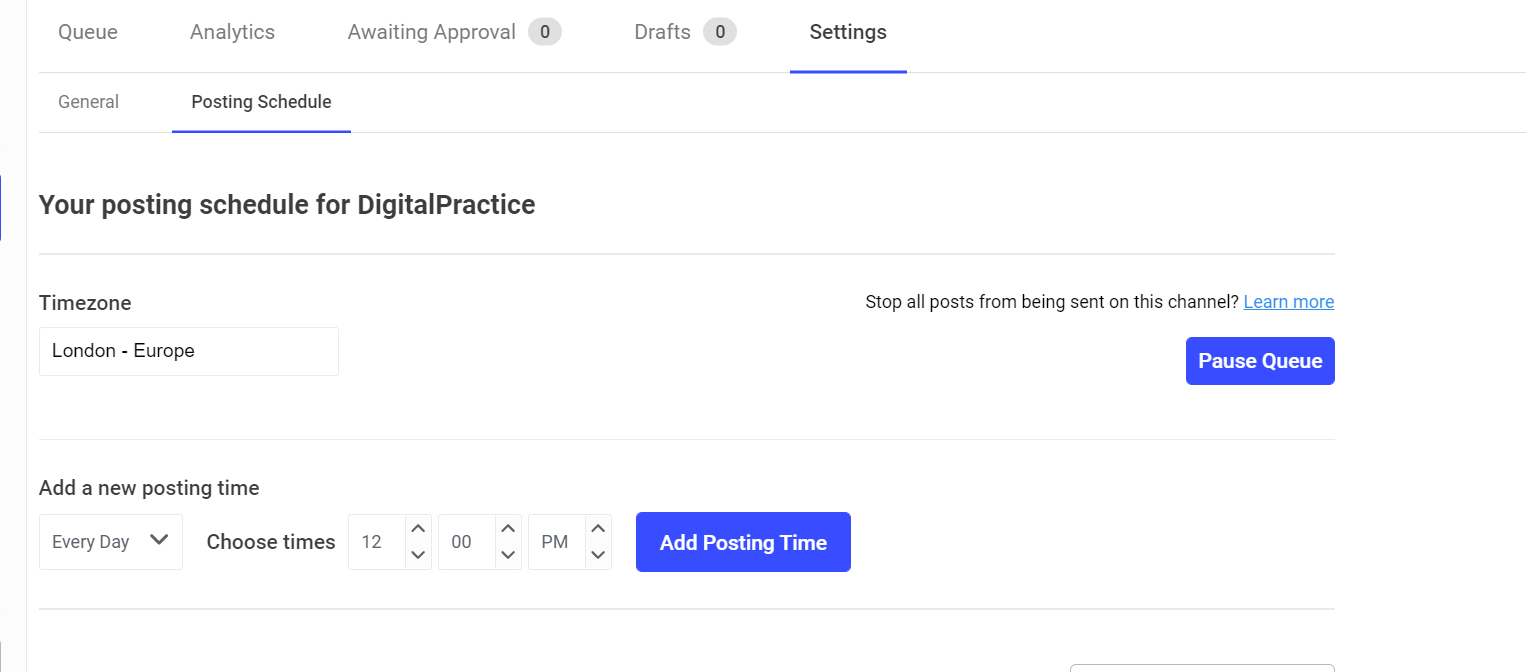 Select your timezone first (ours is Dublin – Europe), then select the days you want to post content on. For example, for this Twitter account, the content is scheduled to post on Monday, Tuesday, Wednesday, Thursday, Friday and Saturday. You can select and deselect days as appropriate to you.
The next thing you need to do is add a posting time. In the example below, they have selected to post on their Twitter account several times during the day. To add your own time just click the time buttons and choose whichever time you’d like.
Step 3:
Write the content you want to share.
Now that you have selected the days and times you want your content to post, it’s time to start writing the updates you want to post via Buffer.
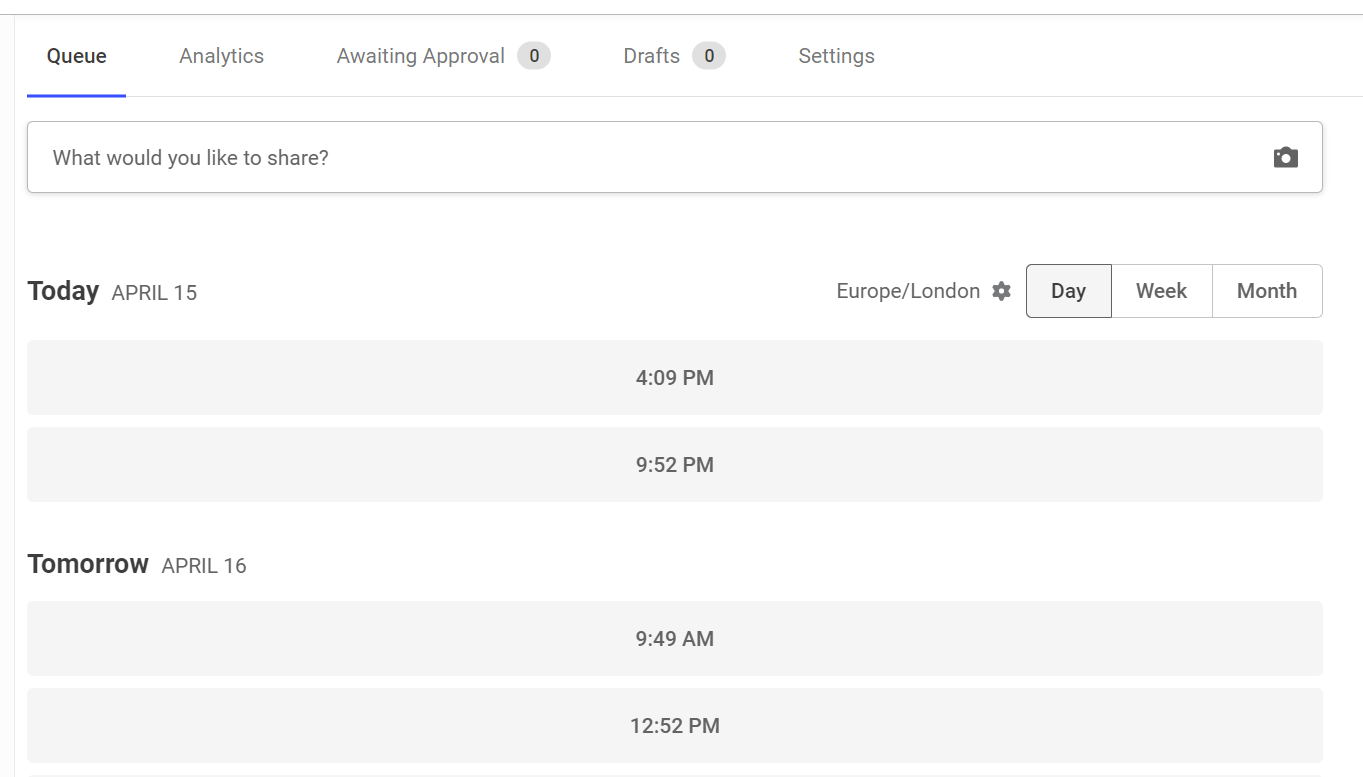
To do this, select the Queue option on whichever social channel you’d like on the left hand side at the top of your Dashboard.
 And the option at the top is what you want to click!

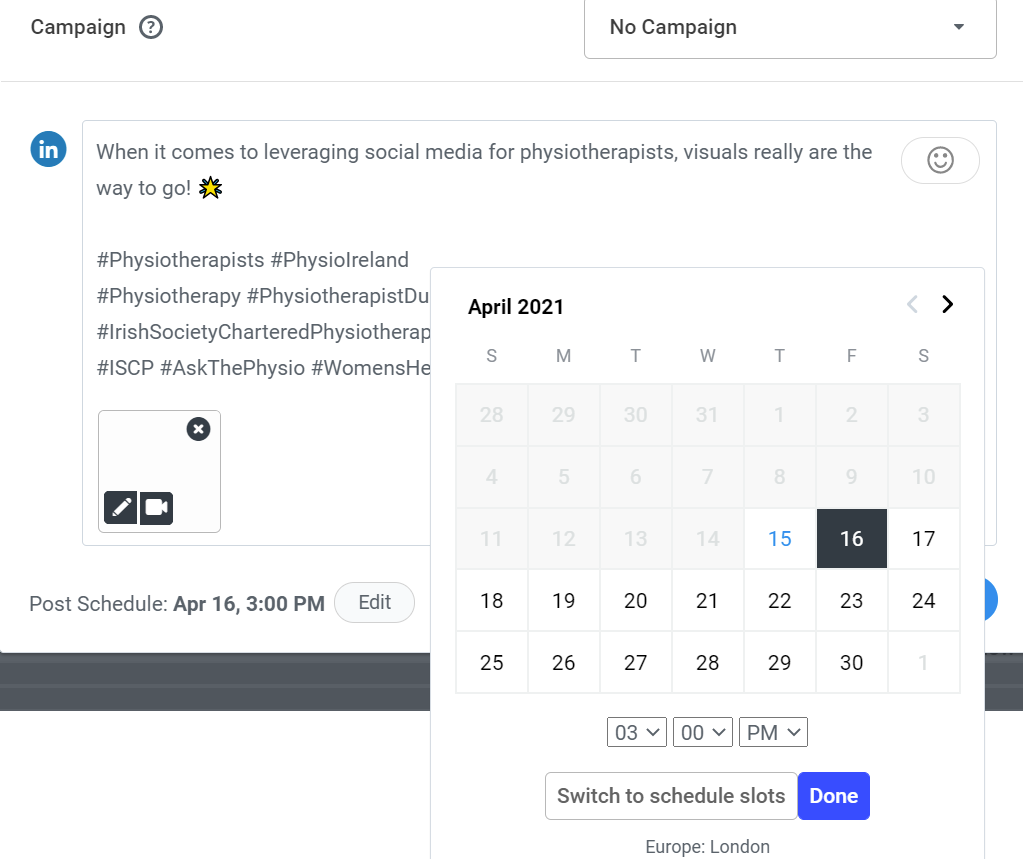
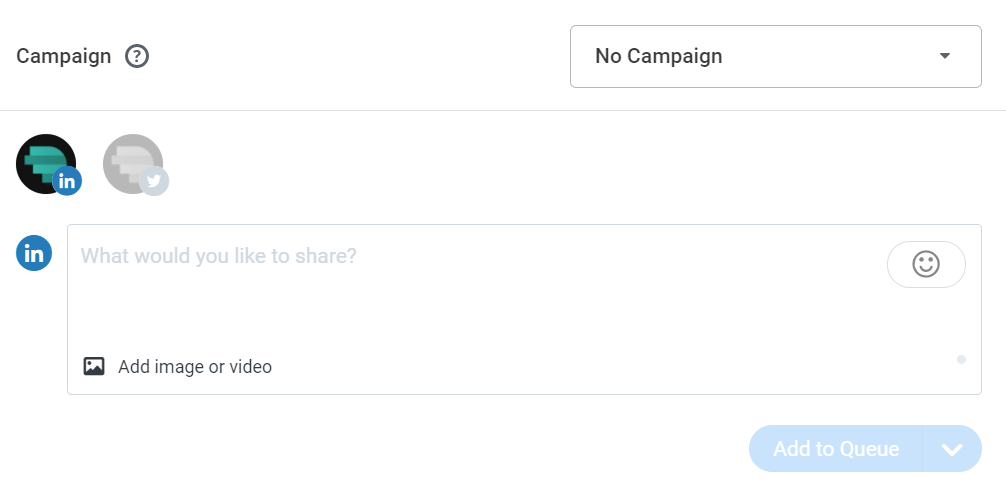
Now all you need to do is start typing and start adding images/videos if any. Check out the example below:
Step 4:
Share your content
When you’ve written your content update, you then need to decide what to do with it. Just click edit and choose what day and time you’d like to post, you can choose the times you’ve scheduled before or you can choose a custom time and date.